This page describes some of the work that is required to rebuild the Isetta 300 chain case. This service follows the procedures described in the maintenance service manual for the Isetta. If you do not have the technical knowledge, tools or perhaps the desire to dismantle, inspect and reassemble a chain case, I can perform this task for you. If you believe you can tackle this task, this page will give you more insight than the manual does and help prepare you for this job.
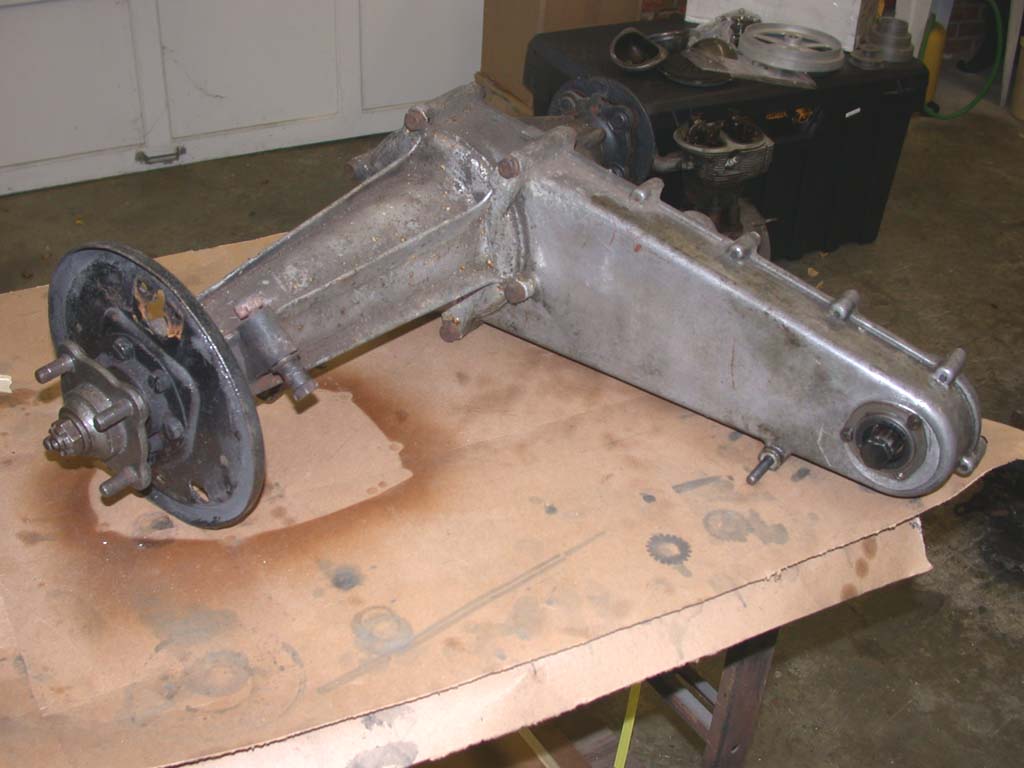
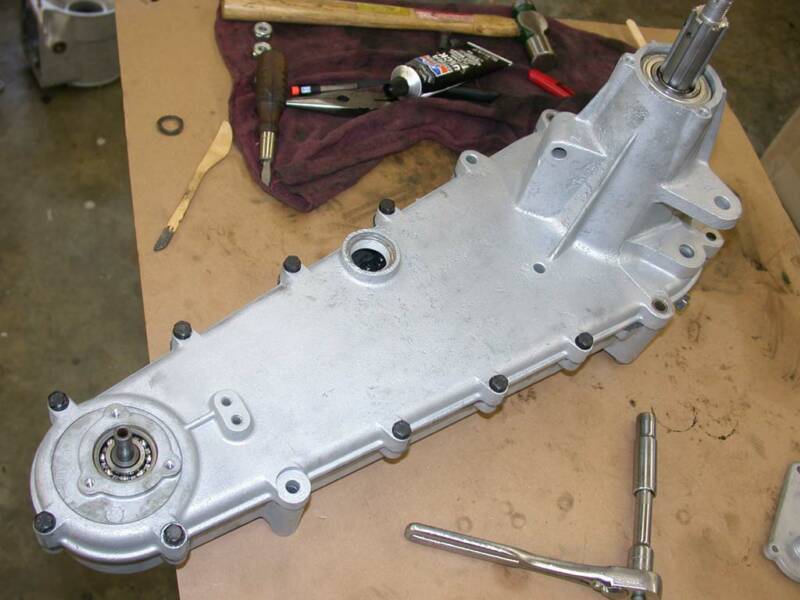
Most of the chain cases I receive are complete and in fairly clean condition. This one was shipped without the brake drum or brake cylinders.
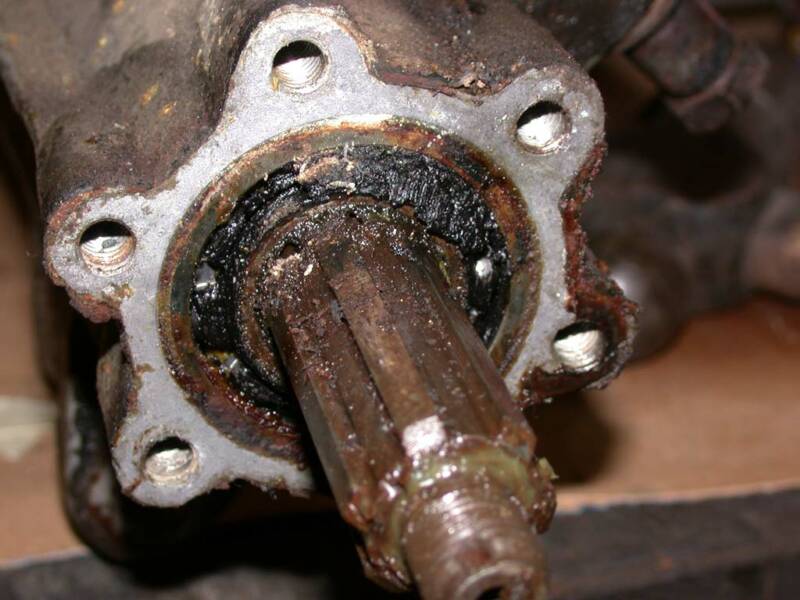
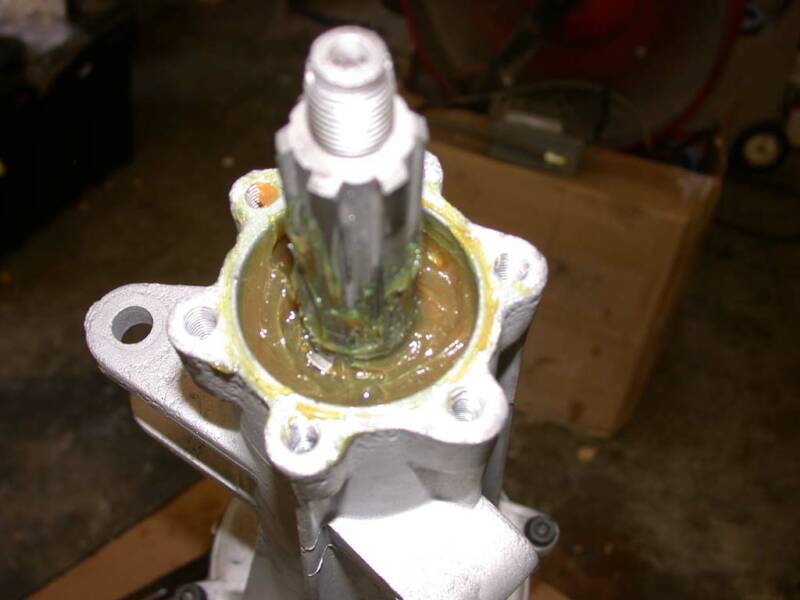
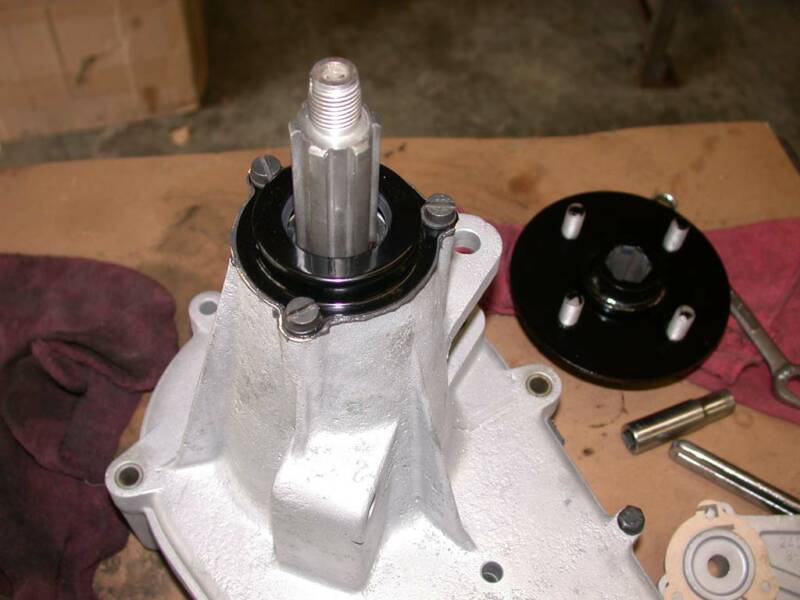
Disassemble starts by making sure all the oil is drained from the unit. The drain plug is located on the bottom center of the axle end of the chain case. Then the axle hubs and brake plate are removed. The picture on the right shows that the bearing behind the brake plate is not lubricated by the oil in the chain case. It is grease lubricated and must be packed with grease when the new bearing is installed (this side only).
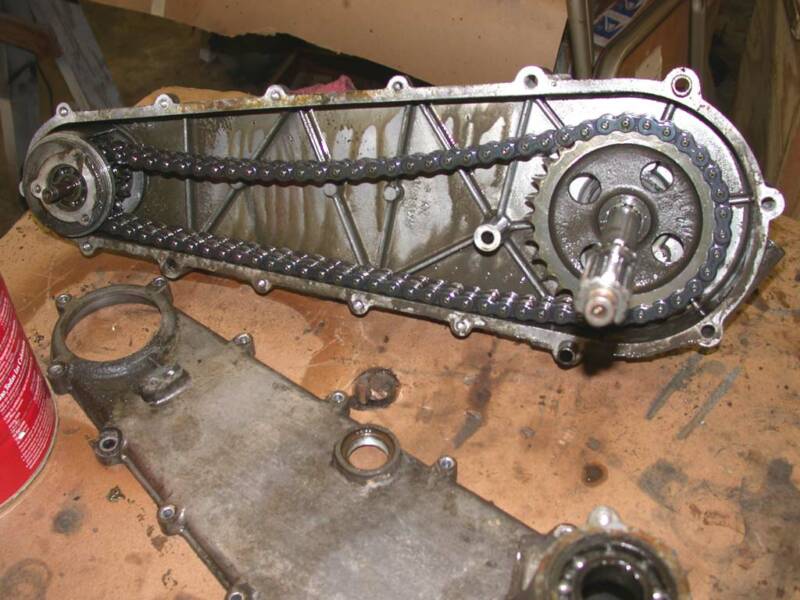
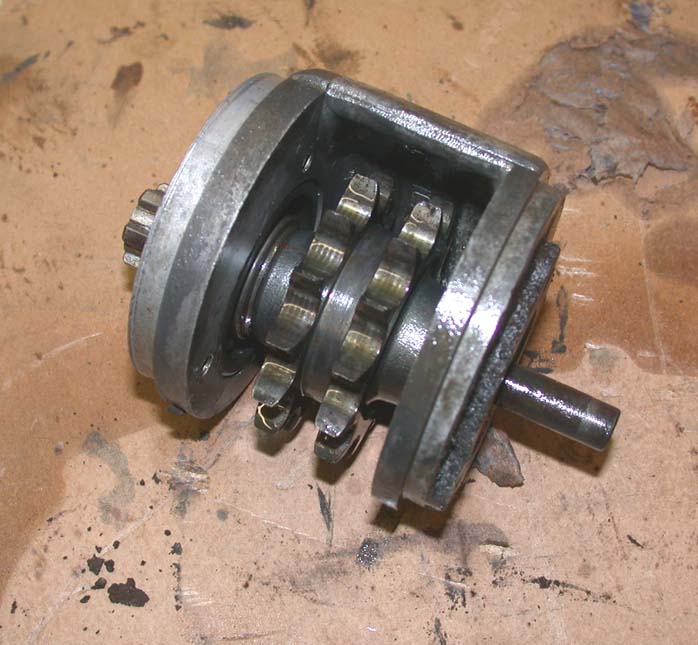
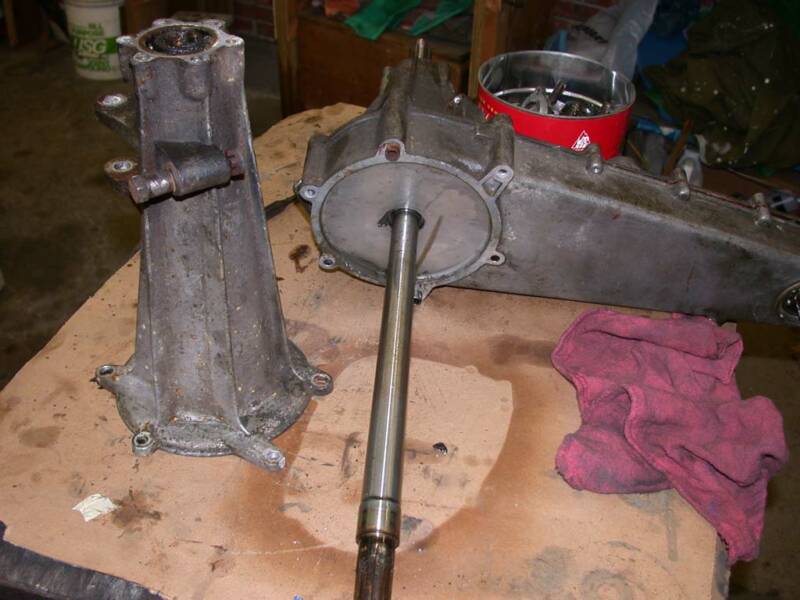
The chain adjusted is removed from the speedometer side of the chain case. The bolts around the outside of the cover are removed and then the cover is removed. Light mallet blows to the shock absorber mounts will aid in the parting of the case. Be careful not to lose the bearing inter race spacers that are located on the shaft just inside of the hub splines. These spacers should be repositioned went reassembling the case with grease to hold them in place. Once the cover is off, the chain can be separated at the joining link and the adjuster (small input shaft unit) can be removed.
After the upper adjuster unit is removed, remove the long housing side with the aid of a mallet. The ball bearing can be removed from the long housing with the aid of heat and a long punch. I suggest heating the case to about 200 degrees F and then tapping the bearing out from the inside. On the inside of the bearing is a grease seal. Remove this seal in the same manner as the bearing with the housing hot.
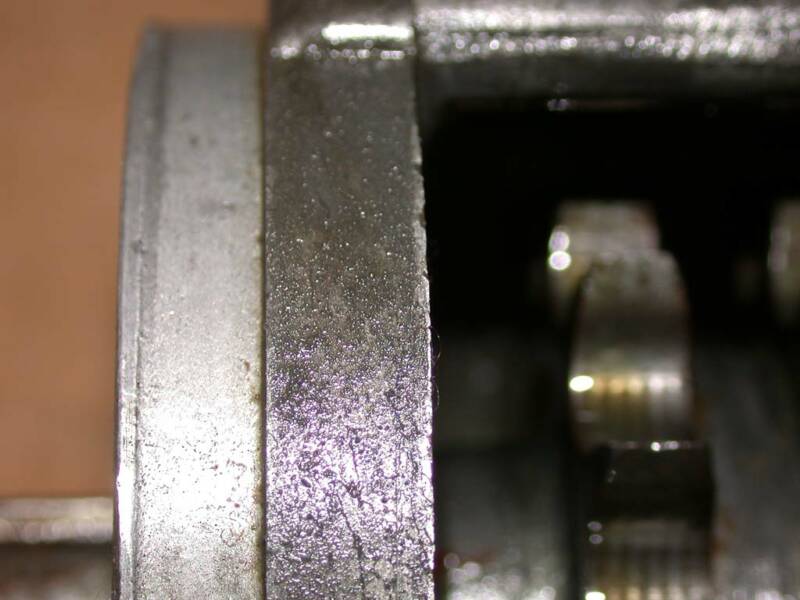
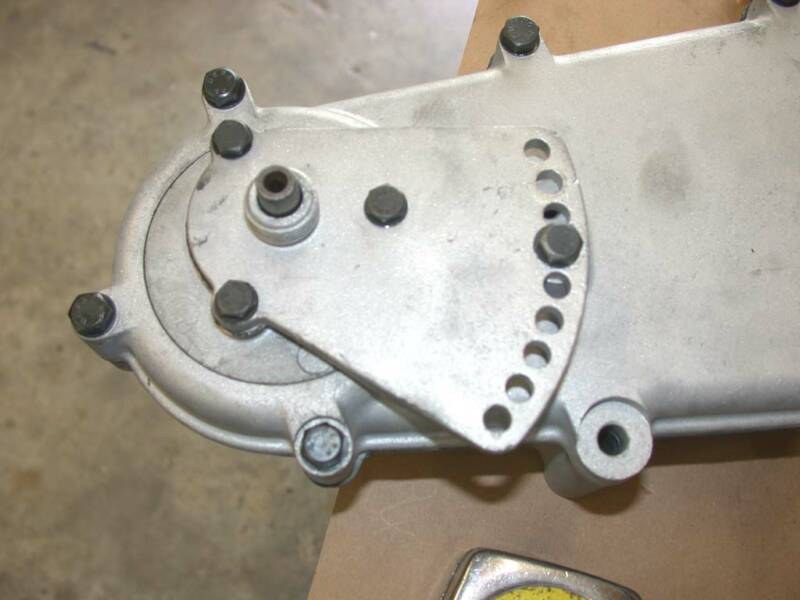
Inspect the wear on the outer lip of the adjuster unit. Excessive wear in this area will result in oil leakage. I have installed a thin paper gasket in this area to reduce or eliminate oil seepage from this area (these gaskets are not supplied in the kits).
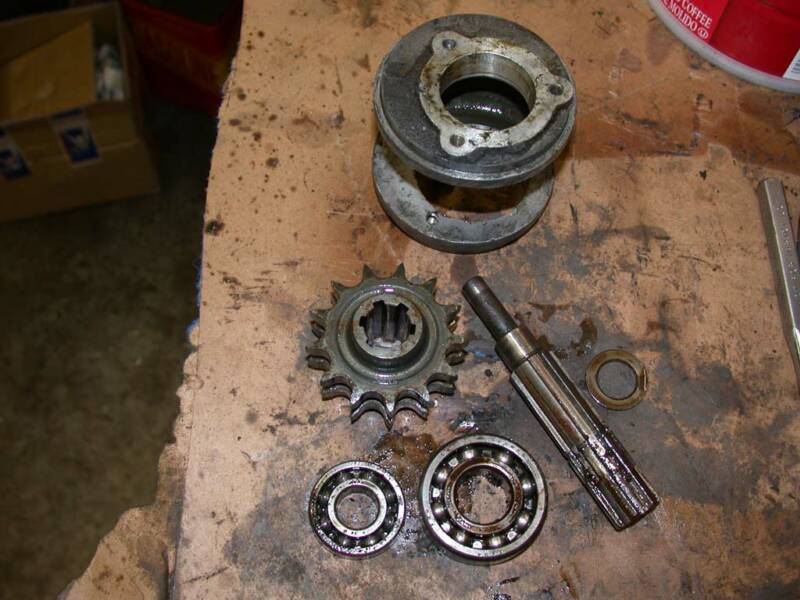
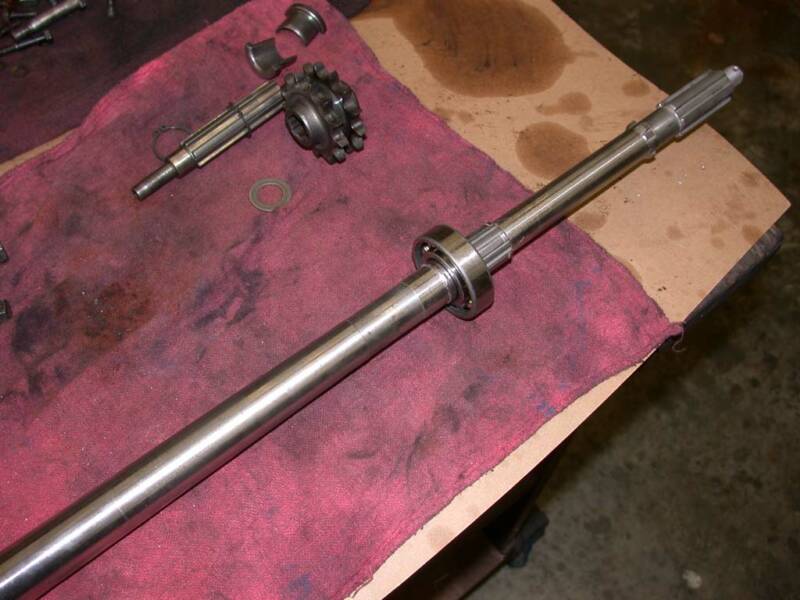
To disassemble the input shaft heat the entire housing and shaft to about 225 degrees F. This will expand the aluminum housing sufficiently to allow you to gently tap or press these items apart. If you attempt to remove them without heating, it is very likely that you will damage the housing.
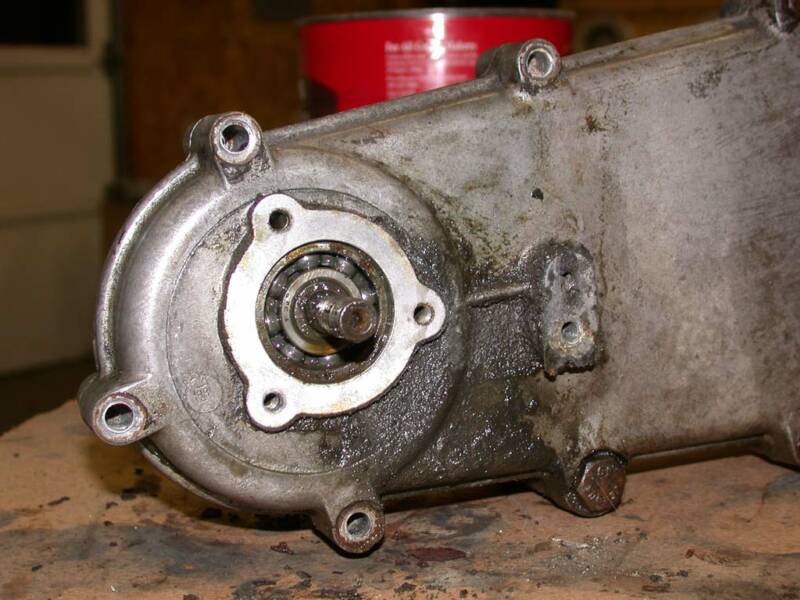
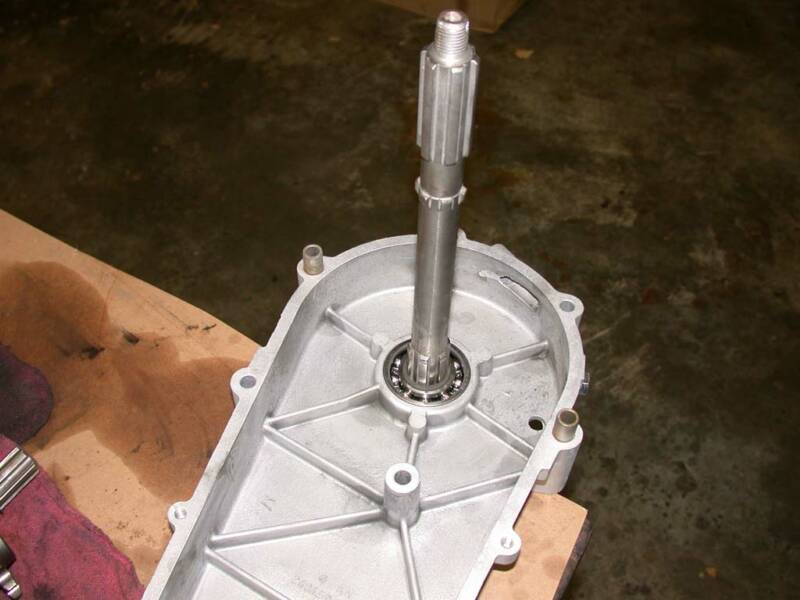
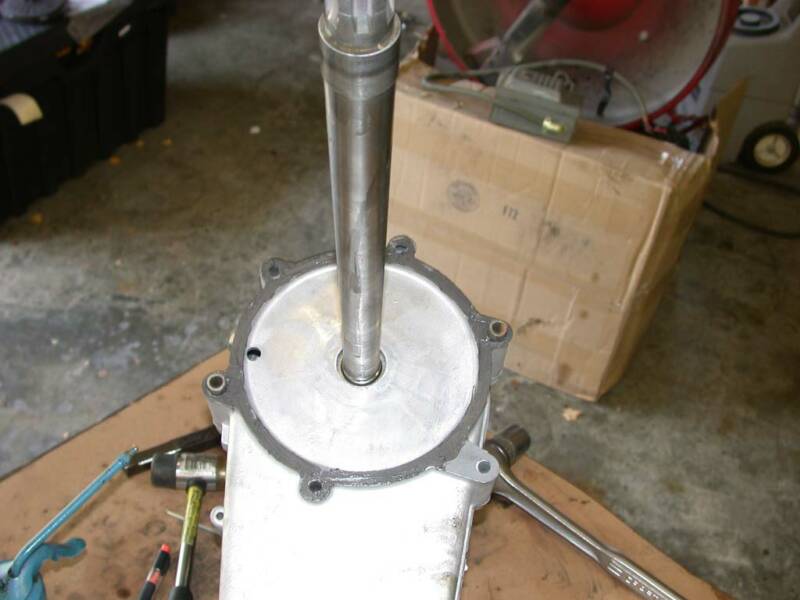
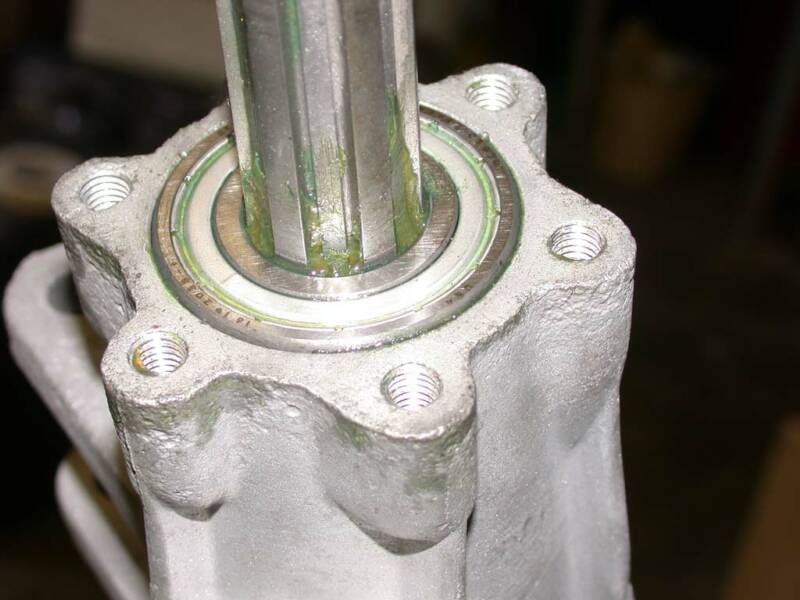
All parts should be cleaned and the center bearing installed on the output shaft. Heat the center housing and install the output shaft back into the housing. You can see in the photo on the lower right the space for the bearing spacers just below the splines. These should be installed just before the side cover is installed. Use grease to hold these spacers in place.
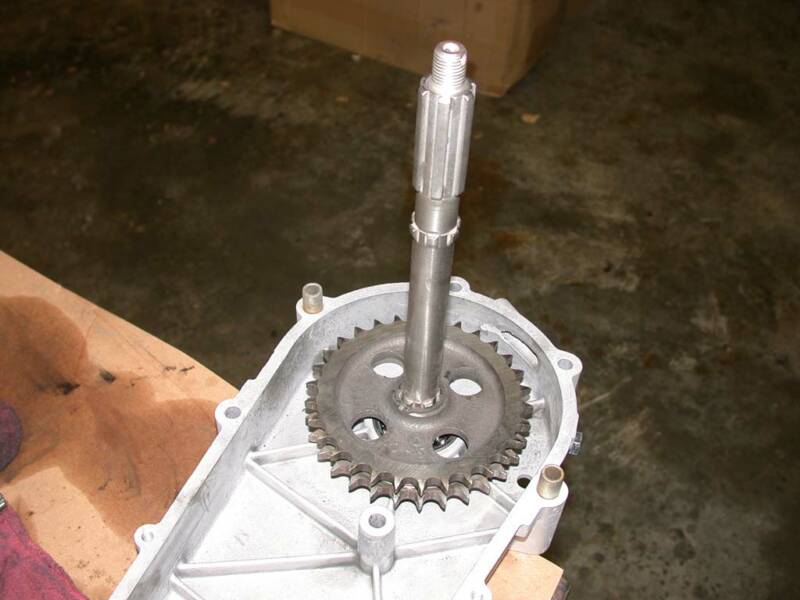
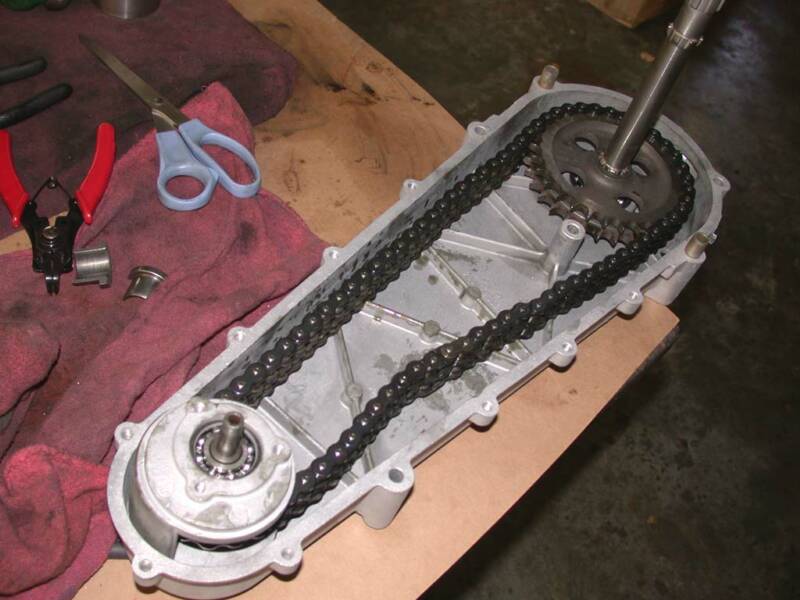
Install the sprocket and keepers, the chain and the adjuster. The chain should be installed with the connector pointing away from the direction of normal chain rotation.
After installing gasket sealant and a new gasket, Install the cover. The adjuster plate should be installed and the tension on the chain not set until all bearings are in place. The bearing for the output shaft is installed after the surrounding aluminum casting is heated to allow the bearing to slip into the housing easily.
The opposite cover is now installed in a similar manner as the first cover. Prior to installing the cover, install the grease seal deep in the bearing housing. Install the cover, pack the wheel bearing grease between the shaft and the inter seal.
Install the wheel bearing and then the brake plate gaskets / brake plate. Install the oil seal on the opposite side of the housing.
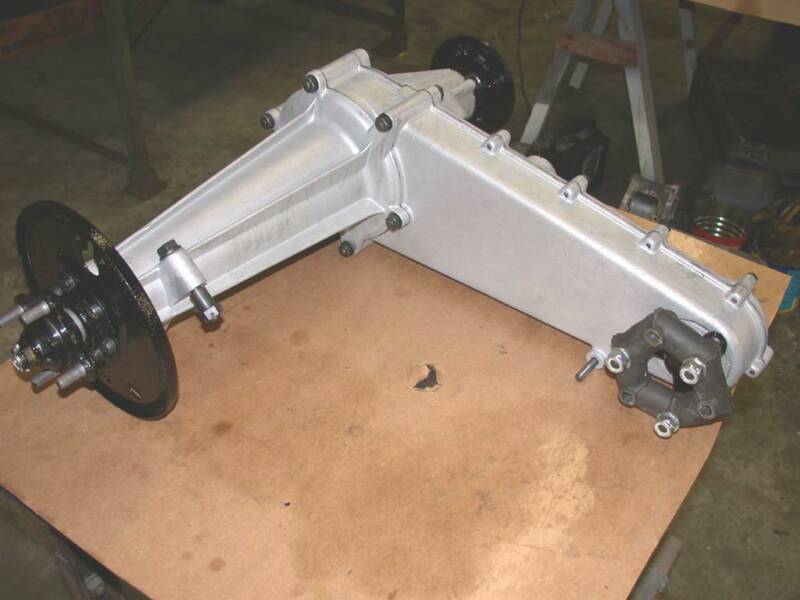
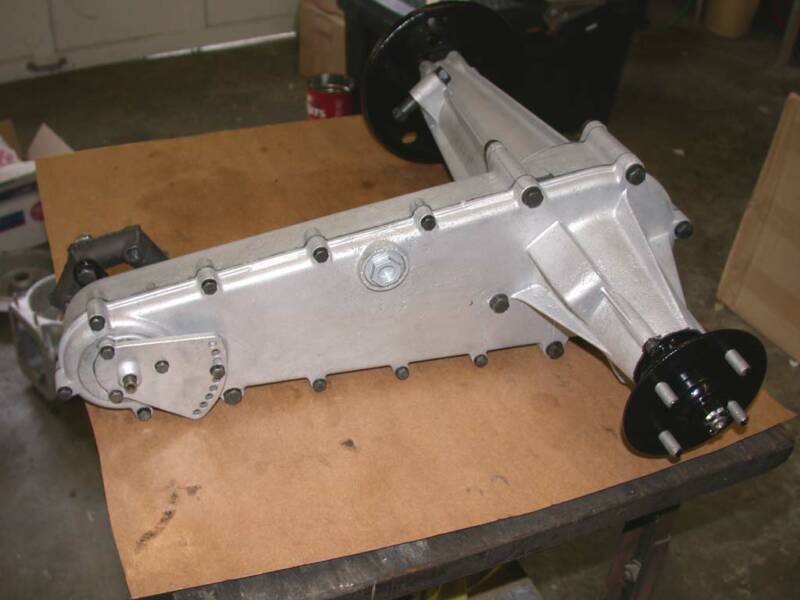
Below are some photos of a fully restored chain case. This case is not painted (other than the ferrous metal parts - it has been bead blasted to the original appearance. All ferrous metal parts were powder coated to protect them from future rust.
The following is a cost estimate to rebuild a 300 chain case assuming there is no damaged to the sprockets, chain or tensioner unit:
New Bearings
Seals and Gaskets
Misc. nuts and bolts and other small parts
Labor (includes all supplies, and overhead)
TOTAL ESTIMATE
The above estimate does not include shipping, rear brake cylinder rebuild or the replacement of the rubber couplings. Shipping cost vary widely depending on your location.
In the event you need to have the chain replaced, a new chain will add about $42.00 to the above estimate. I would estimate that about 50% of the chaincases I open do require new chains. If the chaincase has been left open for many year, it is almost a sure bet.
Prices were last updated 2/13/2023 - Labor is firm until notice is presented on this web site. Parts prices are subject to change based on suppliers pricing.
All work carries a 1 year warrantee.
If you wish to contact me to discuss this further, you may call me on weekends or week days between 10am and 9:00PM Eastern time. My cell number is 843-845-4742. Please do not call at "odd hours" and if I do not answer, leave a message - I will return the call.
$95.00
75.00
100.00
350.00
620.00
Due to illness, I am no longer providing any rebuild services. You should contact either John Wetzel at Isettajohn@aol.com or Werner Schwark at isettasrus@bellsouth.net